At-Home Screen Prints

by John Andrews

Hi all, I’m sharing a fun way of screen printing on a small scale at home, using an old wood picture frame as a screen. I fortunately had all these materials on hand but there’s probably many ways to improvise with what you have on hand at home or can easily find to make a successful printable screen.

MATERIALS

for the screen:

a small wooden picture frame, (mine has a 4”x6” opening)

fabric with a coarse weave

staple gun or stapler

duct tape (optional)

poly acrylic /wood sealant (optional)


for making


stencils

tyvek envelope, or similar material

sharp x-acto or hobby knife

marker

tape

cutting matt or chipboard

scissors


for printing

screen ink or acrylic paint

old plastic gift card/ credit card/ ID card

water

clean-up rag

tape

paper/fabric to print on

PRINT AT HOME pictureframe screen printing (1)-2.jpg

To make the screen:

I treated this just like stretching a canvas:

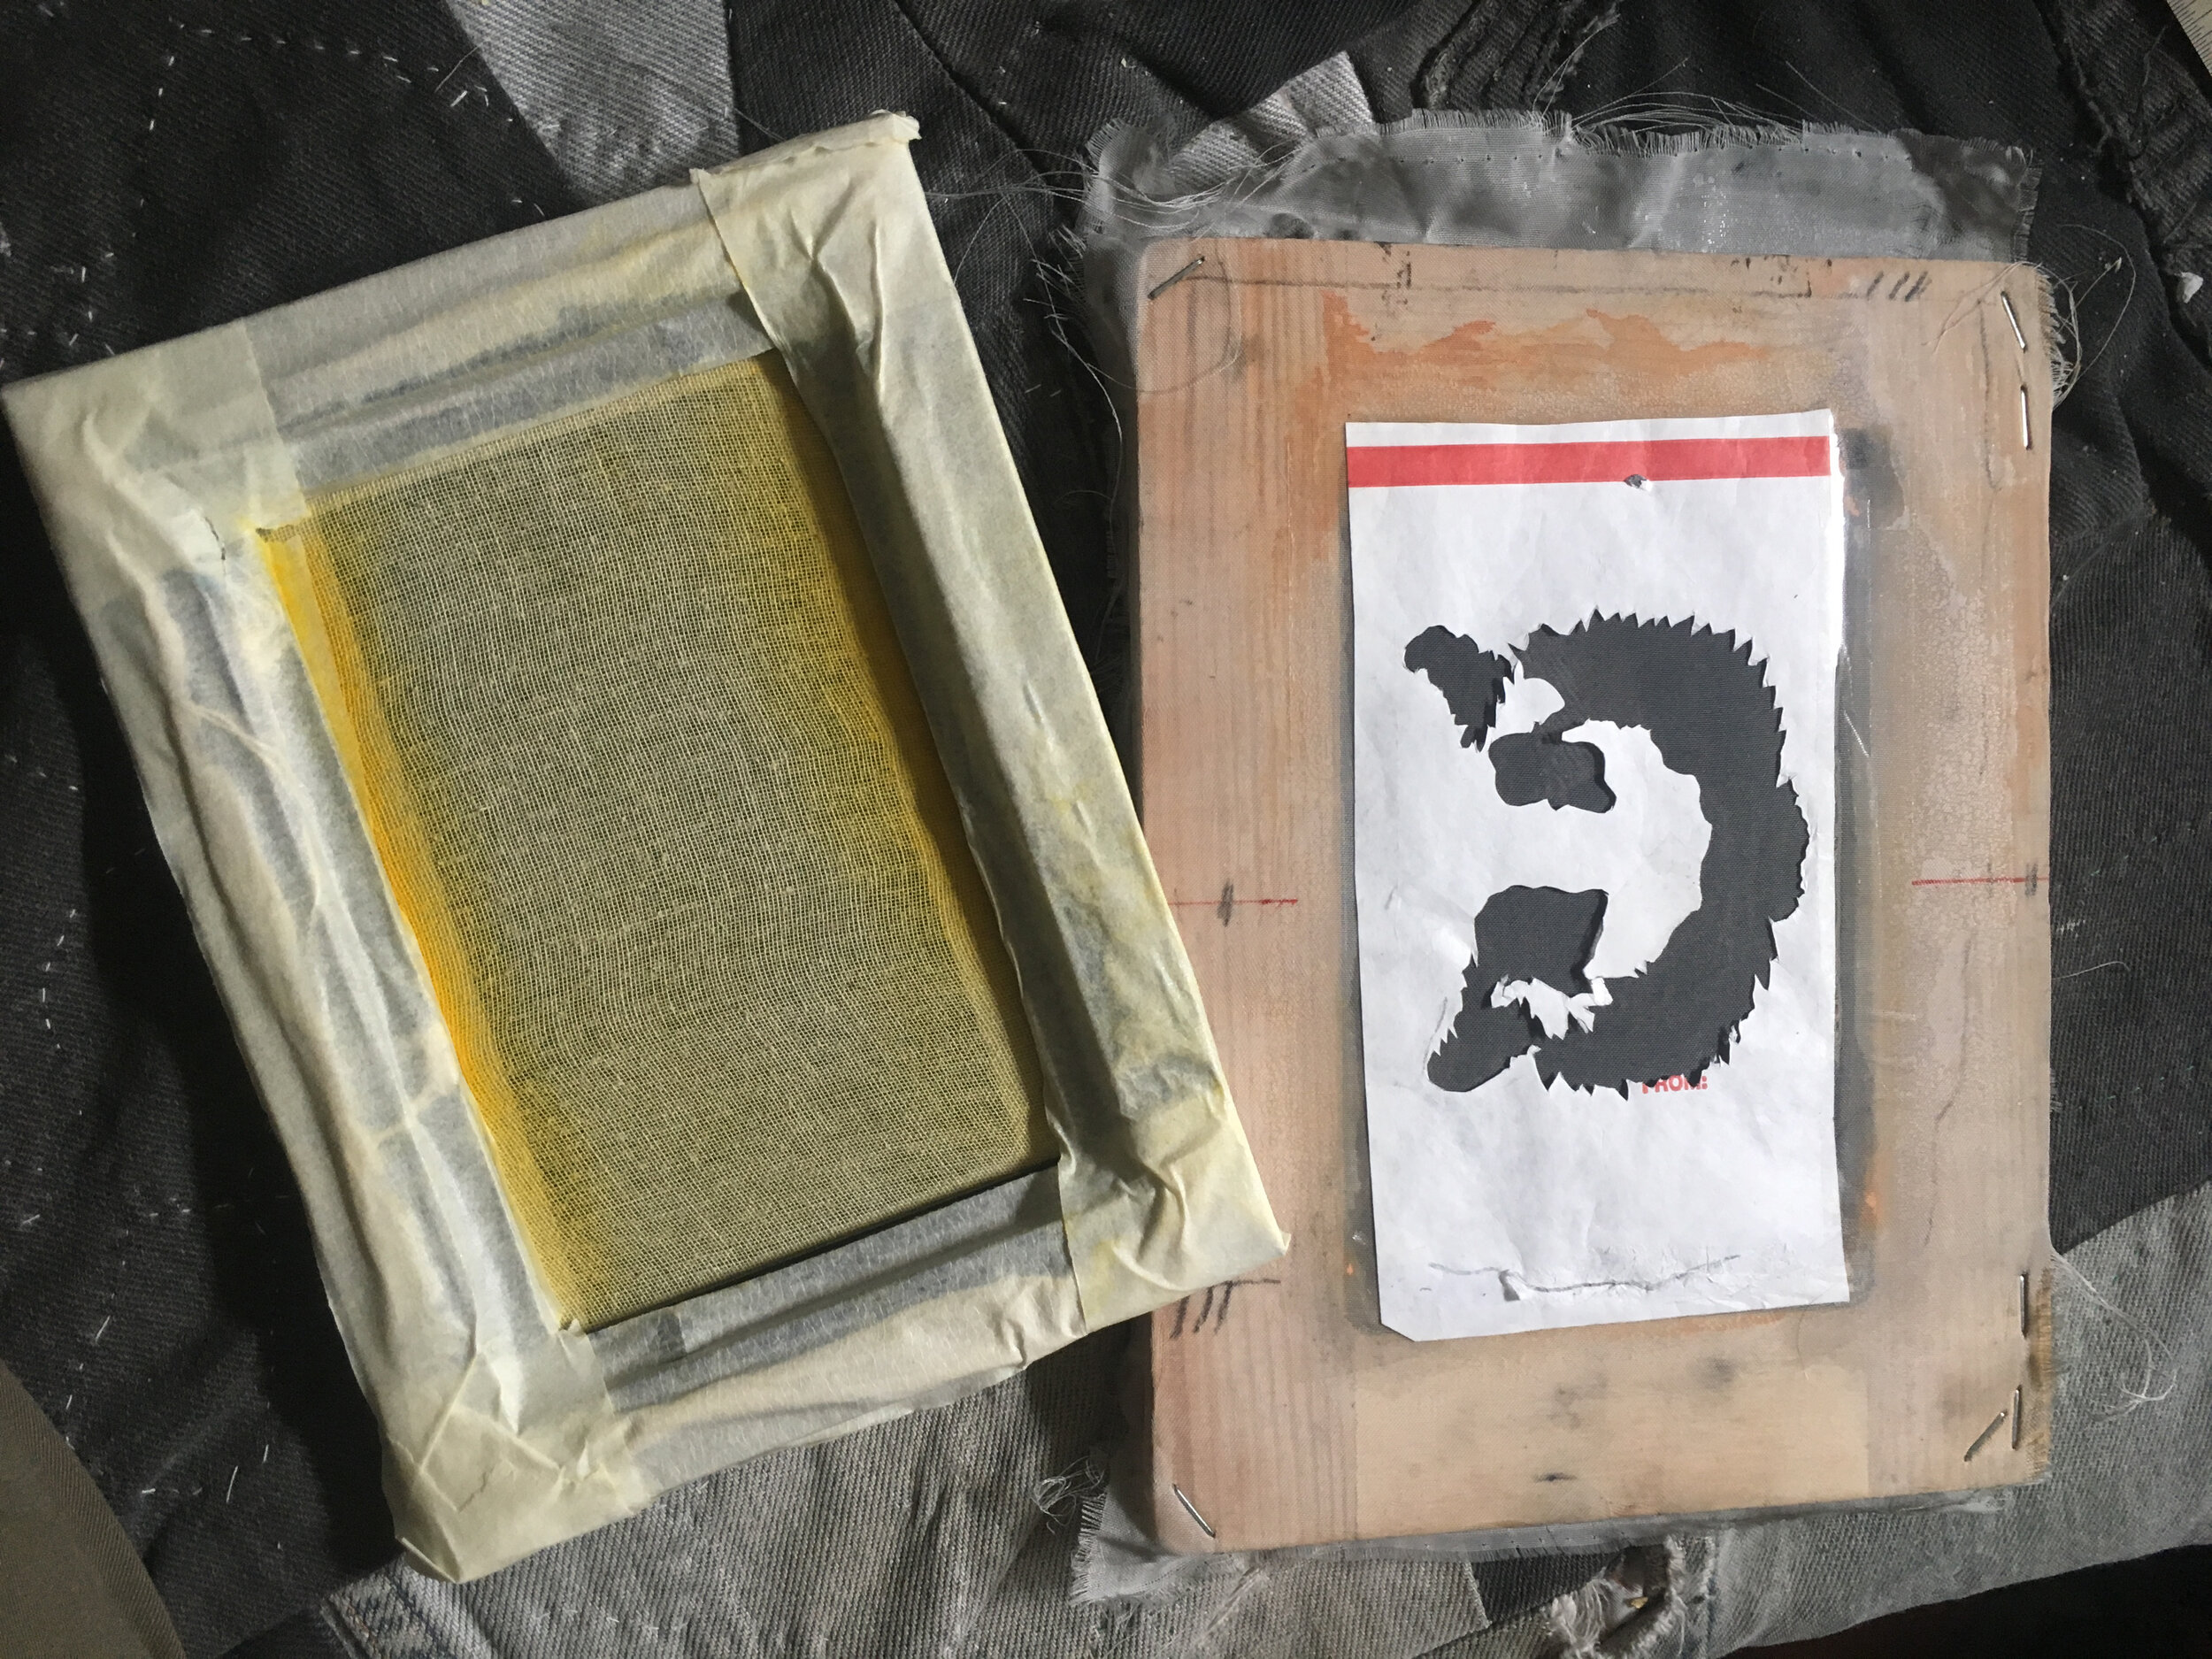
Lay your fabric on a flat surface and put your frame over it. Fold up one edge around the frame and in the center, staple it to the frame. Now pull the material from the opposite side, make sure it is taut, and put a staple in to secure it. Now, repeat this in the other direction. You should have four staple in the center of each frame-bar. You can now work your way adding staples outward as you pull the material taut and toward the corners. It doesn’t have to be perfect, just tight enough that its not floppy and doesn’t stretch too much. 

If i didn’t have this staple gun I might have success with a regular office stapler if the frame’s wood is soft enough, or maybe strong tape that will stick and hold to the fabric and frame.

I also lucked out and had a nearly ideal fabric to use as screen mesh. It’s from an old curtain or curtain-liner and is see through and synthetic, which means it will dry fast and not shrink/stretch. I also have some gauze-y cotton, sort of like a cheesecloth, that I am trying, just to compare. This one will take longer to dry, might stretch a bit when washing, but I think it should still do the trick.

PRINT AT HOME pictureframe screen printing (1)-3.jpg

To cut stencils: 

I realized I had another perfect material for stencil screen printing at home: a tyvek mailing envelope. Of course you can use many materials to cut stencils, but what works best? I wanted something thin (easy to cut  and easy to print the ink through) but strong, and something I could reuse/ clean with water. Tyvek proved ideal! It’s even translucent enough to put over a drawing ( on a window or light table) so you can trace where to cut.

Also usable: thin mylar, palette paper, wax paper, regular paper (you could even “coat” or “laminate” it with packing tape)

Cutting stencils was the tedious part for me. I drew my design onto the tyvek with a marker, then cut out all the drawn bits (the black), sometimes using tweezers to carefully remove sections. If I slipped and cut somewhere I didn’t mean to, I covered the mistake with scotch tape and cut through that. Flipping the stencil over allowed me to see my progress.

Free forming with scissors  is another option for less detailed shapes. You might even  play around with folding up your stencil material and do a snowflake-esque approach to cutting some sweet radially symmetric shapes.

*Remember that with stencils you can’t completely suspend shapes (like the inside of an “O” or “P” so you have to design some kind of support/connection to the main stencil-sheet. In the example above, the tigers’ eyes needed a small connection otherwise they would be disconnected from the overall stencil.

PRINT AT HOME pictureframe screen printing (1)-4.jpg
PRINT AT HOME pictureframe screen printing (1)-5.jpg

To print: 

I’m also lucky to have some white & black screen ink (for fabric!) in my ink kit at home, but water-based screen ink is basically acrylic paint, so you can try that too.

I used my library card for a squeegee. Plastic cards like this are my usual at-home ink knives for mixing colors, so I’m glad to have another perfect use for them. My frames fit the card perfectly.

Tape your stencil onto the underside or your screen and tape out the open edges where you don’t want ink to leak through. You’re now ready to throw some ink on and start printing! Your first pull will stick your stencil flush to your screen and it should stay in place as you print.

PRINT AT HOME pictureframe screen printing (1)-7.jpg
PRINT AT HOME pictureframe screen printing (1)-6.jpg
PRINT AT HOME pictureframe screen printing (1)-8.jpg

To clean up:

These small screens are easy to wash up in my bathroom sink. I unpeel the taped-on stencil to carefully remove it and put it in the bottom of the sink. A gentle stream of water usually takes all the ink off and I don’t have to worry about scrubbing any delicate areas. Scrape off and save extra ink from your screen before rinsing away any excess ink. Get the mesh as clean as possible before leaving to air dry. Once dry, you’re ready to print some more. Cut stencils while you wait!

Back to PRINT at HOME